Article: How to Choose a Wet Room Drain
How to Choose a Wet Room Drain
There is no single best wet room drain. There is only the right option for your particular build or project. Regardless of whether you have a linear, square, low-profile or high-flow option available, the right solution will be whichever drain fits best in the floor construction, the floor finish (tile, concrete, vinyl), and what the flow requirements are.
Specifying for a home installation or a commercial/public project? The framework's the same. This guide sets out to provide a simple framework, from which you can determine the best drain for any project based on the substrate, format, outlet, flow and build-up height.
The specification team at WM are on hand to help with any project requirements you have, so if you still need some help or guidance, don't hesitate to get in contact with the team.
What a wet room drain is and how it works
A wet room drain is used in preference to a shower tray, and provides the outlet that takes water off a floor. The floor is sloped and tanked so that the water will fall towards it.
Water follows a simple path: it runs across the floor's fall (the gradient built into the floor build-up) to the grate, down through the drain body, through a trap that holds a permanent water seal, and out to the waste pipework. Regardless of the type of drain you pick, 4 components do the work -
- The Grate is the visible cover the water enters through. This can be selected to provide a distinct look in the wet room, and the type chosen depends on the floor finish you are using.
- The drain body is the housing beneath the grate that channels water from the grate to the outlet.
- The trap (water seal) holds a standing column of water that blocks odours and gases coming back up from the waste.
- The outlet connects the drain body to the pipework run underneath the floor.
Every decision in this guide comes back to how these four components need to change to suit your floor. Browse the full range of drains supplied by WM in .
The 4 main decisions that determine the right drain
Every wet room drain choice comes down to four questions, in this order:
- Substrate - what's the floor built from, and what does that demand of the drain?
- Format - linear, point/square, or corner? Where do you need to place the drain, either for aesthetics or practicality, i.e. joist positions
- Outlet and flow - which way does it discharge, and does it clear enough water?
-
Build-up height - how much depth do you actually have to work with, and how does the drain tie into the waterproofing?
Work through them in order, and the right drain narrows itself down. The rest of this guide takes each one in turn.
1: Your floor substrate
The substrate is the starting point of any decision concerning the drain. Every project is different, and it's important to consider how you're going to fix the drain, what the minimum build-up height will be (the distance from the structural subfloor to the finished floor level), the flange type and how much the floor is expected to move.
Concrete
Concrete is solid, stable and is able to have the drain body encased within during the pour or screed. Standard and high-capacity outlet options both work well here. For residential applications, the SharpDrain Pro Polished Concrete is engineered specifically to be encased in the pour. For commercial settings, the XL Linear drain is likely to be more suitable. This option is easier when you're starting from scratch, as opposed to trying to retrofit and watch the concrete depth you have to work with, as this will determine the drain specification you can use.
Timber / joisted floors
Every floor has different joist spacing and depth. This is the space you need for the drain body, so this can limit the drain options. Timber also experiences a considerable amount of movement, so this needs to be factored in when the tanking is completed. Low-profile drain bodies and careful attention to the membrane detail matter more here than on a solid floor.
Vinyl
Most commonly used in commercial applications, vinyl floors need a drain with a clamped-flange detail so the waterproof vinyl membrane can be welded and sealed directly to the drain body. The flange is the part of the drain that makes the floor itself the waterproof layer at the drain.
Screed / microcement
Microcement has very similar constraints to concrete but has a thinner finish, which makes it more sensitive to cracking. The drain's edge needs to sit flush so that the drain isn't compromised by the cement finish.
2: Drain format - Linear, Square, or Corner
Once a decision on the substrate has been made, it is important to next consider the format of drain that is needed.
| Format | Fall type | Suits | Typical use |
|---|---|---|---|
| Linear | Single-plane fall or four-way fall depending on position of the drain | Large-format tiles, sheet vinyl, minimal-threshold walk-in showers | Wall-run or threshold installs where a continuous straight channel reads cleanest |
| Square | Four-way fall (floor falls from all sides to one point) | Great for mosaic tiles, standard bathroom footprints | The lowest-cost, most straightforward install where a centred outlet works with the shower layout |
| Corner | Two-way fall into a corner | Small-format tiles, where you don't want to stand on the drain | Where floor space or joist routing rules out a centred or long-run drain |
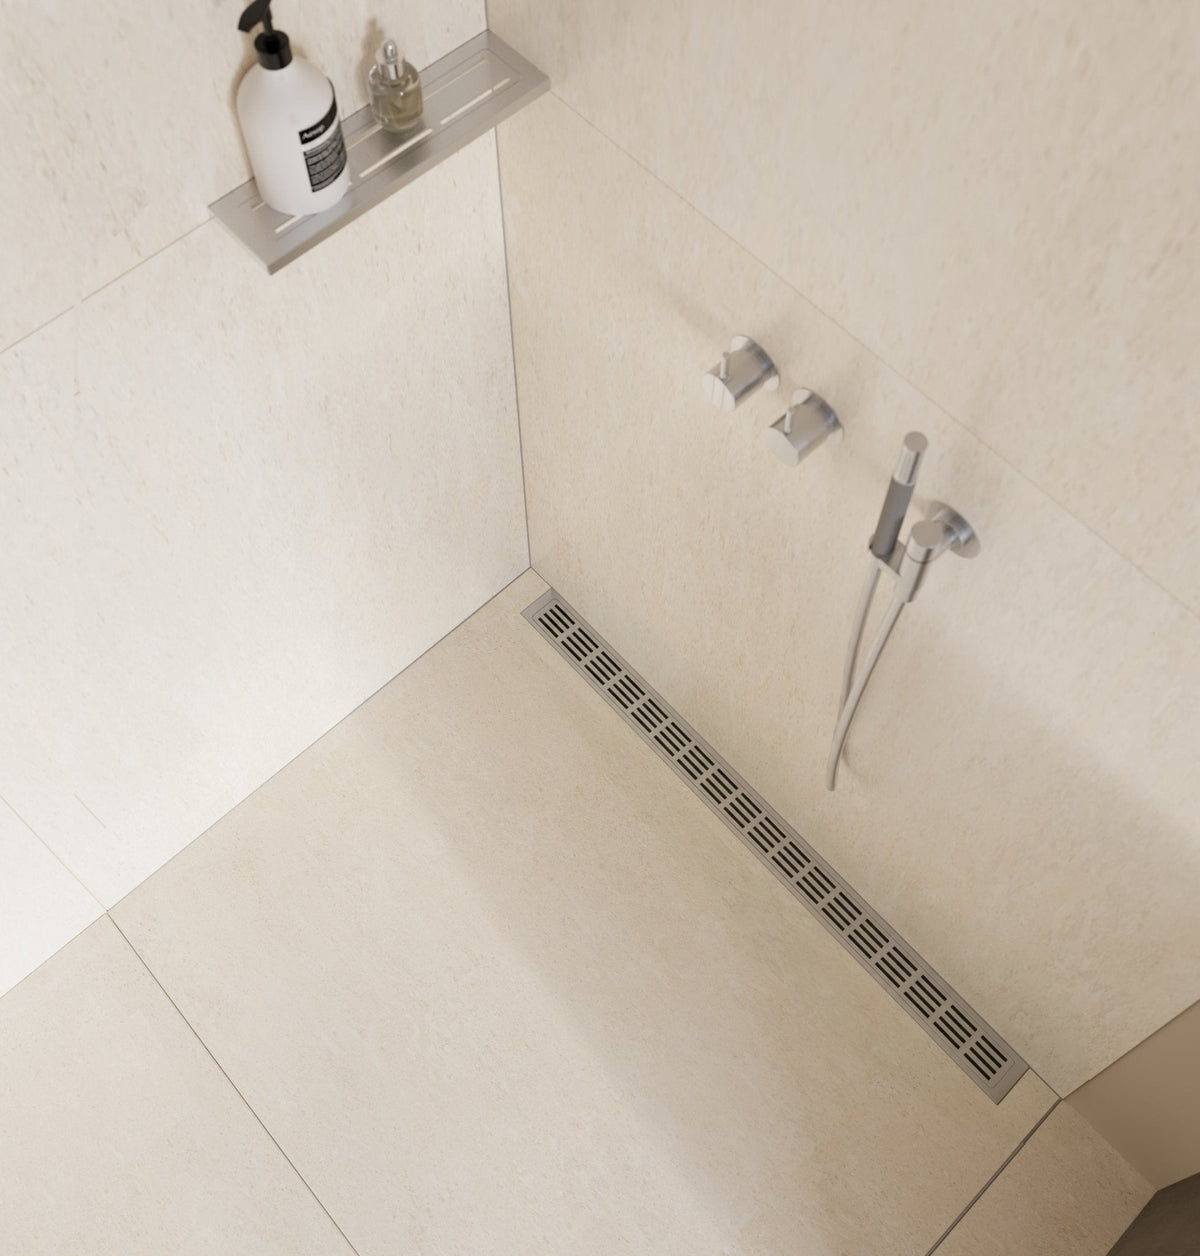
Linear drains vary the fall - Unislope 1K provides a single-plane fall; four-way falls can also be achieved depending on where the drain is situated. This format is often the default for contemporary walk-in wet rooms.
Square drains fall from all four sides to a central outlet. Prices for the kits are often cheaper due to the simpler fall geometry. They also work better with smaller-format tiles.
Corner drains fall two ways into a corner rather than four ways to a centre or one way to a run. This can be useful where the room footprint or the joist layout underneath rules out the other two formats.
3: Outlet type and flow rate
Once you have determined the floor type and the drain format, it's important to ensure that your drain is able to clear the water your shower produces.
Outlets are available in horizontal and vertical formats. A vertical outlet discharges water straight down and can clear more water than a horizontal outlet on the same drain. That said, you will need a larger depth beneath the floor to accommodate the outlet.
Most standard residential outlets will run at 50mm. For commercial installations, this can be stepped up to 110mm pipework. Talk to the WM specification team if you need the larger pipework and they can advise on the most suitable products.
Most wet rooms will use gravity to drain water into the waste. However, if the floor is not able to be built up, you can consider using a pump to lift the water to the waste run instead,
A drain's stated flow rate is usually given in litres per minute. The rate provided needs to comfortably exceed what the installed shower can put out. As a quick reference, the table below shows the different outlet flow rates for different drains.
4: Build-up height and the waterproofing tie-in
Determining how much depth you have to work with for your drainage and pipework is the last, but important, step when working out which drain best fits your requirements.
Build-up height. Every drain has a minimum depth it needs beneath the finished floor to sit, fall correctly and connect to the building's plumbing. It is really important to understand how much space you have to work with before choosing the most suitable outlet.
The membrane-bonding detail - the actual failure point. Every wet room drain sits inside a tanking system, and the joint between the two is where wet rooms fail if it isn't done right. The drain's flange or bonding collar has to form a continuous, sealed connection to the waterproofing membrane around it, not just sit near it. In practice, that means you need to consider the following:
If you ensure the substrate and build-up height are right, the membrane joint is straightforward to detail properly. Skip past it, or treat the tiles and grout as the waterproof layer instead of the membrane, and no drain choice above will save the installation.
Do you need a drain, or a complete kit?
Everything we've talked about so far might feel as though the drain is a single component. However, the drain is rarely specified alone. The drain, the former or pre-formed sloped tray beneath it, the trap, and the membrane are chosen together as one system.
A kit usually includes the drain, former/tray, trap and membrane specified as a matched set. It can feel like a simpler approach, as it will ensure that the different components work together, meaning you just need to work through the steps above.
If you're sourcing the drain and components separately, this is perfectly possible; you might just need to work with your contractor to ensure that everything is going to work together harmoniously.
To see our wet room kits, click here.
Domestic vs commercial installations
Everything in this guide applies to a standard domestic or light-trade wet room. Commercial and high-traffic projects for leisure, healthcare, education, and hospitality installations usually have additional requirements that need to be taken into account. Dealing with sustained higher flows of water running from multiple units at once and hygiene and cleanability standards are just two additional considerations. If you're specifying for a commercial or public-access project, work through how to specify a commercial wet room drain rather than applying the domestic guidance above.
Choose the right drain for your build
Substrate, format, outlet and flow, build-up height all point you to the type of drain you will need to work for your project.
Need help with your specification? Speak to our specification team, and they will be happy to help.